How to Change Router IP Address? This is a million-dollar question. It is very for some people and for some it’s very much difficult task for them. But don’t worry, we are here; we will guide you on how to change your Router IP ( local IP address quickly).
You know that a default gateway IP address comes pre-assigned by your ISP, i.e., Your Internet service provider. But don’t worry. You can configure or mask your IP as per your requirement. It will help you prevent bad guys from entering your router Admin Panel, Prevent your device setting from being messed up by unauthorized access.
Not only that, changing IP will make an extra layer to prevent DDoS attacks and give your device an extra layer of a particular security. So without wasting time, let’s find out a few popular and widely used Router settings to change the local IP address of those devices.

How to change TP-Link Router IP Address?
Table of Contents
While Changing your Router IP, Router Local Ip is very easy. Now we will guide you on how to change TP-Link Router IP change. If you have this company device, you can follow the below steps, and you will be done.
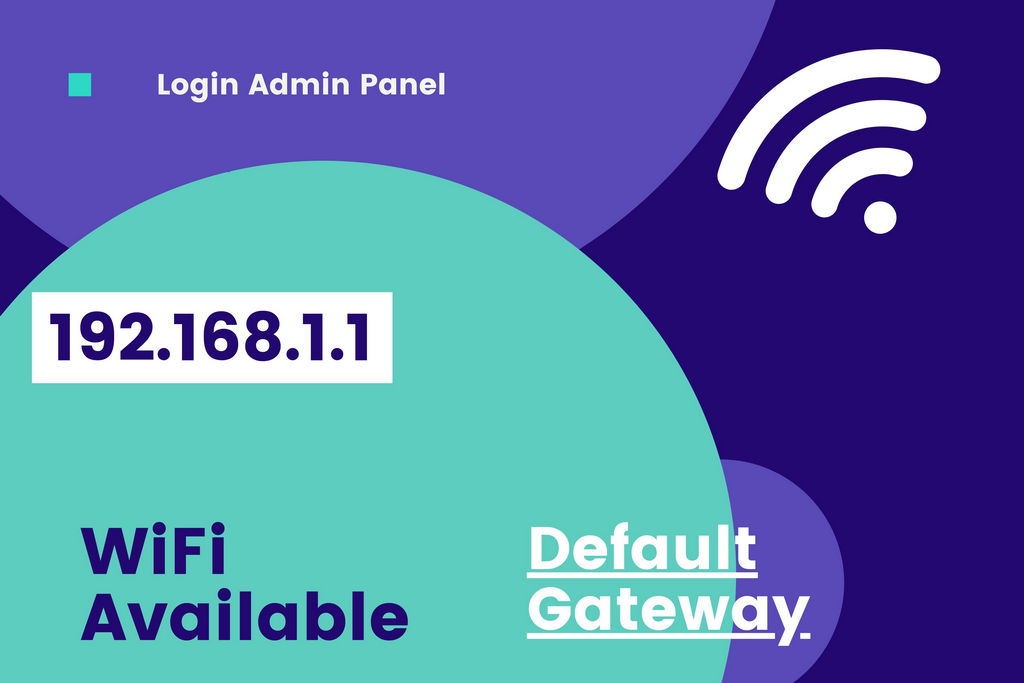
- First, log in to Router Admin Panel using your favorite Brower URL Bar using default Ip address 192.168.1.1 or 192.168.0.1 or 10.0.0.1 or you can check The list from Here.
- Now after Landing Admin Panel Just Visit Settings>Network>LAN
- Now Click on “IP Address” and Choose your desired address which may want to impose with replace of Default one such as you may take 192.168.1.2 or You may take as 192.168.2.1 etc whichever you want.
- Now after choosing synthetic IP just Hit/Click on the Save Button router will be reboot immediately and changes setting will be applied.
Also Read: How to Login 192.168.1.1
Please Note: While changing the default password, Save the Newly created password in a secure place or write it down in your diary so that you can access it in the future if needed. Because After changing Default gateway Password to New one Older password no longer work.
How to change the D-Link Router IP address?
The primary setting of this router is nearly the same. To change the D-Link IP address, follow the below step.
- Just go to the Admin dashboard page using Default Browser typing IP address 192.168.1.1 or 192.168.0.1
- Just Fill in the Username and Password (default username: Admin and Password: Admin/1122) you can check the bottom sticker bearing Ip address and password and username.
- Now You need to go to Setup>Network Settings.
- Find out the Router IP address field and change it as preferred IP and save it.
How to change IP address of JioFi router?
The process of Default IP change of the Jiofi 4G 2/3/4 Router LTE Modem’s quite the same. As we already said, the basic of the systems of these available modems is the same, just there Something changed due to degradation and brand to makes them different.
To change the Jio 4G LTE Modems JioFi 2,3,4 IP address, follow these steps-
Step-1. Just Launch your favorite Brower and after connecting your modem from your computer.
Step-2. Now Type in URL bar http://192.168.5.1 or http://192.168.1.1, or you can visit DNS address htttp://jiofi.local.html
Step -3. Now You need to fill the sign box Username and Password and hit the Sign in Button. Default user login Username and Password is administrator/administrator.
Step-4: After login, Admin Dashboard will appear in front of you. Now follow the step- Setting>Network>LAN
under a Host IP address, you can see the default address is 192.168.5.1 or 192.168.1.1; change it according to your wish and click on Apply Button
Step-5: Under the LAN setting, you can also get the default IP address as above and Default Subnet Mask Id as 255.255.0.0 and other details like Starting IP Address as 192.168.1.100 and Ending IP address as 192.168.1.200, etc.
You can change them as per the allowance of your device and your requirement. And when Everything is done, click on Apply Button, and the new setting will take place within a few seconds, and the device will take a reboot to apply the new settings.
So this is how we can also change the IP address of the Jiofi LTE 4G modem.
Also Read: My SDMC SSO Login
How to change The NETGEAR Router IP address?
Another popular Router is NETGEAR, Which is widely used in various countries. And many people may face changing the default settings into a new one. Today we will discuss the Netgear router IP address setting. Those who are in trouble can go through this guideline. Step-by-step methods have been bellowed.
- Just Visit your favorite browser URL and type 192.168.1.1 or 192.168.0.1 or you can visit the Bellow address which is the default address for your Netgear Router device.
http://www.routerlogin.net or http://www.routerlogin.com These two address also works as default address for Netgear device. - Now in credentials just Put Username as Admin, and Password is Admin/Password or Blank
which is by default has been set for this device. - Once Logged in to the Main dashboard, You need Just Go through Advance>Setup>LAN Setup.
- Under LAN Setup Tab you may find TCP/IP Setup you will see IP Address which is already there as a default setup. Now change it according to your requirements like 10.0.0.5 or 10.10.10.10 or any other setup you may like.
- Now Hit the “Apply Setting” and the System will Take a reboot to update the new setting
Please Be alert that while changing the password, you need to write it down before hitting the Apply Setting button. Because after Clicking on the Apply setting button, it will take and apply the setting and old username and password, and the default gateway IP address will not work anymore.
2ndly IF you face any problems during this process and faces Something that goes wrong, then you have only one way left; just hard reset your router, and the router will be default factory settings within a few seconds, and all customization and previous setting will be reverted to the default setting. Now you can follow the above step one by one.

Conlcusion:-
To prevent your device from unauthorized access and protect your WiFi network is the most important thing because if you fail to protect your private WiFi network, then anyone can access your internet, which you pay for not only that they can mess with setting with your WiFi device and slow down your internet speed. Attacking with Ddos attack terrible guys can steal your sensitive personal data easily.
So you need to enable WPA2 encryption, which will add an extra layer of security. Setting a Strong password gives you another strong shield to break it. You can Disable WPS ads so that no one can easily access your WiFi not even join your private network.
You can apply MAC-address filtering, which gives you another layer of security and can track easily. Last but not least, you may update your Router firmware so that your device will be up to date and secure with new security with upgraded version and bug-free and loops holes less device. If you want to protect your device from unauthorized access, you can visit this post- How You can Protect your WiFi network from unauthorized access.